Make your own creamy, delicious homemade almond milk with just two ingredients—raw almonds and water. This easy recipe is fresher, healthier, and tastes infinitely better than anything you’ll find at the grocery store. No additives, no preservatives, just pure almond goodness!
I Almost Didn’t Try Making Homemade Almond Milk (I’m So Glad I Did)
I’ll be honest, the first time I thought about making homemade almond milk, I felt a little hesitant. It seemed complicated, like something that required special equipment or culinary skills I didn’t have. I kept putting it off, thinking store-bought was “good enough.”
Then one day, I finally tried it.
And I was completely wrong about everything. Making almond milk at home isn’t hard. It’s actually ridiculously easy. So easy that I wondered why I’d been buying cartons full of thickeners, emulsifiers, and mystery ingredients for so long when I could make something this fresh and delicious in my own kitchen.
The taste difference? Night and day. Homemade almond milk is creamier, fresher, and has a pure almond flavor that store-bought versions just can’t match. Once you try it, those grocery store cartons will feel like a distant memory.
Jump to…
Why Make Your Own Almond Milk?
If you’re still buying almond milk from the store, let me give you some compelling reasons to start making your own:
You control the ingredients. Most commercial almond milk contains only about 2% almonds, plus stabilizers, gums, and preservatives. When you make almond milk at home, you know exactly what’s in it because you put it there.
It tastes incredible. Fresh homemade almond milk has a rich, creamy texture and natural sweetness that store-bought versions can’t replicate. It’s the difference between fresh-squeezed orange juice and the stuff from a carton.
It’s surprisingly affordable. A bag of raw almonds makes multiple batches of almond milk for a fraction of what you’d spend on premium store-bought brands.
It’s fresh. You’re making it in small batches and consuming it within days, not months. No need for those shelf-stable preservatives.
You can customize it. Want it sweeter? Thicker? Flavored with vanilla? You’re in complete control.
It’s actually easy. This was my biggest misconception. Making almond milk requires minimal effort; most of the “work” is just letting the almonds soak while you sleep.
🌿 Healing Tip:
Beyond ingredient control, almonds themselves are nutritional powerhouses. Research shows that almonds are rich in vitamin E, magnesium, healthy monounsaturated fats, and beneficial polyphenols that support cardiovascular health and overall wellness. When you make almond milk at home, you’re maximizing the nutritional benefits of these remarkable nuts.
What You Need to Make Homemade Almond Milk
Ingredients
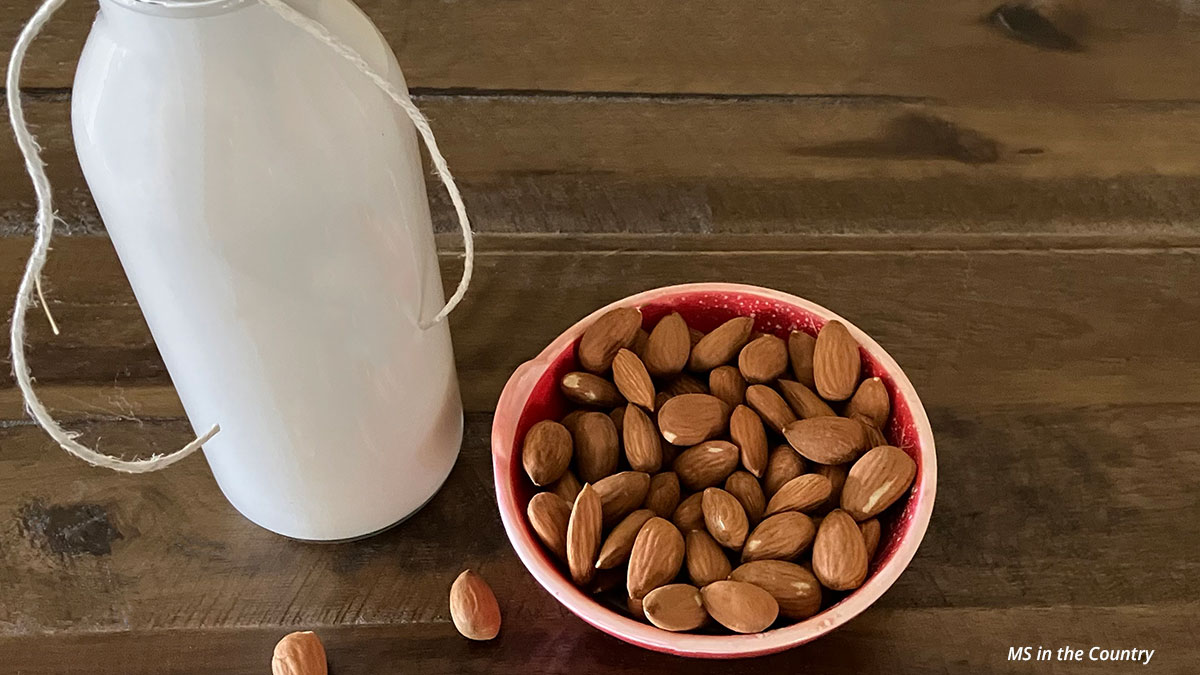
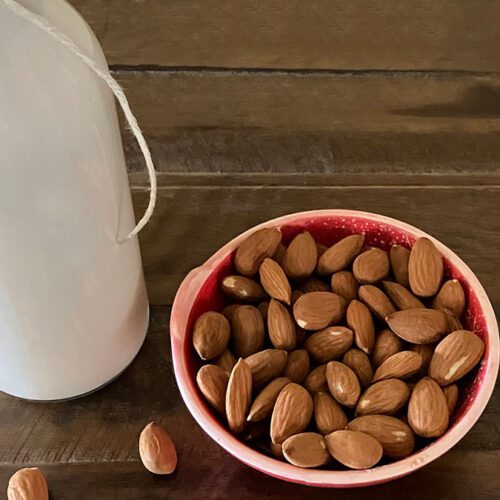
- 1 cup raw almonds (organic if possible)
- 4 cups filtered water (plus more for soaking)
- Optional add-ins:
- Sweetener of choice (honey, maple syrup, or 2-3 dates)
- 1 teaspoon vanilla extract
- Pinch of sea salt
Equipment
- Large bowl for soaking
- High-speed blender (any blender works, but high-speed gives the creamiest results)
- Nut milk bag, cheesecloth, or fine-mesh strainer
- Glass jar or bottle for storage
How to Make Almond Milk: Step by Step
Step 1: Soak Your Almonds (12-24 Hours)
Place your raw almonds in a large bowl and cover them with plenty of filtered water—at least 2 inches above the almonds since they’ll expand as they soak. Cover the bowl and let them sit at room temperature for 12-24 hours.
Why soak? Soaking softens the almonds, making them easier to blend and improving digestibility. It also helps release the nutrients and creates a creamier final product.
Step 2: Drain and Rinse
After soaking, drain the almonds and rinse them thoroughly under cool water. You’ll notice they’ve plumped up and the skins may have loosened—this is perfect.
Step 3: Blend
Add your soaked almonds and 4 cups of fresh filtered water to your blender. If you’re adding sweetener, vanilla, or salt, toss those in now too.
Blend on high speed for 1-2 minutes until the mixture is completely smooth and creamy. It should look white and frothy with no large almond pieces visible.
Step 4: Strain
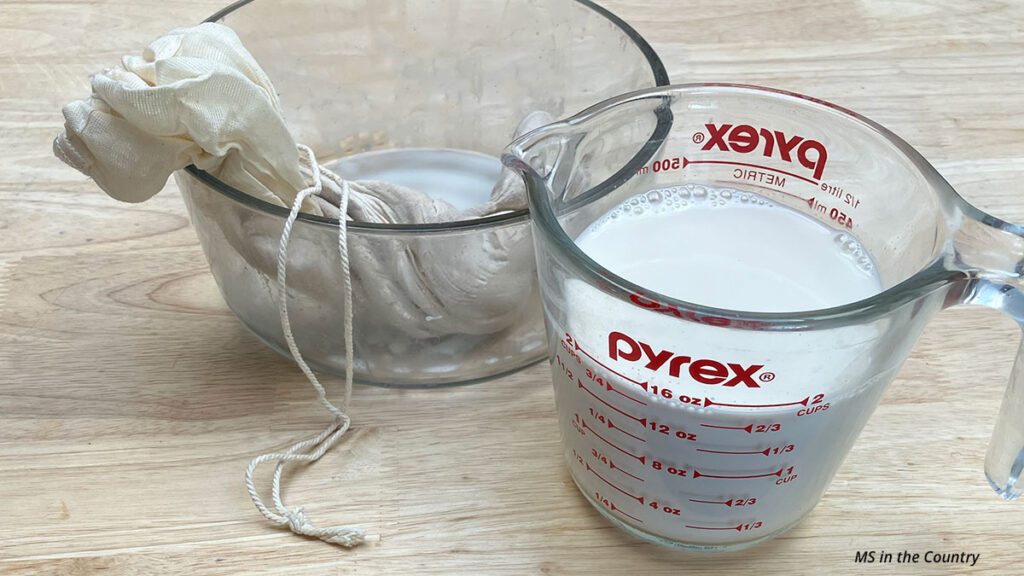
This is where the magic happens. Place your nut milk bag (or cheesecloth) over a large bowl or pitcher. Pour the blended almond mixture into the bag and squeeze gently to extract all the liquid. Keep squeezing until you’ve gotten as much milk out as possible—this is where those arm muscles come in handy!
What you’re left with is smooth, creamy almond milk in your bowl and almond pulp in the bag (don’t throw this away—see tips below for how to use it!).
Step 5: Store and Enjoy
Transfer your fresh almond milk to a clean glass jar or bottle with a lid. Store it in the refrigerator for up to 4-5 days.
Give it a good shake before each use, as natural separation is completely normal (and actually a sign that it’s real, fresh almond milk without emulsifiers!).
Tips for the Best Homemade Almond Milk
Adjust the consistency. Want thicker, creamier almond milk? Use less water (try 3 cups instead of 4). Prefer it thinner? Add an extra cup of water. Experiment until you find your perfect ratio.
Sweeten to taste. I usually start with 2-3 pitted dates or 1-2 tablespoons of maple syrup. Blend these in with the almonds before straining. Taste and adjust to your preference.
Add vanilla for depth. A teaspoon of pure vanilla extract adds wonderful flavor that complements the natural nuttiness of the almonds.
Don’t skip the soaking. While some people make “quick” almond milk without soaking, the overnight soak creates a much creamier, better-tasting result. Plan ahead and let time do the work for you.
Use filtered water. Since water is the main ingredient, using good-quality filtered water makes a noticeable difference in taste.
Blend long enough. Don’t rush the blending step. A full 1-2 minutes ensures you extract maximum creaminess and flavor from the almonds.
What to Do With the Almond Pulp
After straining your almond milk, you’ll have leftover almond pulp. Don’t throw it away! Here are some ways to use it:
- Dry it out to make almond flour – Spread it on a baking sheet and bake at 200°F until completely dry, then pulse in a food processor
- Add to smoothies for extra fiber and protein
- Mix into oatmeal or overnight oats
- Use in baking – Add it to muffins, pancakes, or energy balls
- Make almond pulp crackers – Mix with seeds, spices, and a little oil, then dehydrate
- Add to homemade granola
- Compost it if you’re not going to use it
Ways to Use Your Homemade Almond Milk
Once you have fresh homemade almond milk on hand, the possibilities are endless:
- Pour it over homemade cereal or homemade granola for breakfast
- Add it to coffee or tea for a creamy, nutty flavor
- Use it in smoothies as your liquid base
- Make overnight oats with fresh almond milk
- Use it in baking – Substitute it 1:1 for regular milk in recipes
- Create chocolate almond milk – Add cacao powder and maple syrup
- Blend into creamy soups for richness without dairy
- Make chia pudding for a healthy dessert or breakfast
- Add to matcha or golden milk lattes
How Long Does Homemade Almond Milk Last?
Fresh almond milk will keep in the refrigerator for 4-5 days in an airtight container. You’ll know it’s gone bad if it smells off or develops a sour taste.
Since it doesn’t contain preservatives, it won’t last as long as store-bought, but that’s actually a good thing! You’re consuming it fresh when all the nutrients and flavors are at their peak.
I typically make a batch twice a week, which keeps me stocked without any waste.
🌿 Healing Tip:
One of the hidden benefits of homemade almond milk is what it doesn’t contain—no carrageenan, gums, or preservatives that can trigger inflammation in sensitive individuals. When you’re healing, every ingredient matters, and this pure almond milk gives your body only what it needs.
Flavor Variations to Try
Once you’ve mastered basic almond milk, try these variations:
- Vanilla Almond Milk – Add 1-2 teaspoons vanilla extract and 2-3 dates for natural sweetness
- Chocolate Almond Milk – Blend in 2-3 tablespoons cacao powder and maple syrup after straining (or check out my chocolate almond milk recipe for the full version!)
- Cinnamon Almond Milk – Add 1/2 teaspoon cinnamon and a pinch of nutmeg
- Strawberry Almond Milk – Blend in fresh or frozen strawberries after straining
- Coffee Almond Milk – Add a shot of espresso or 2 tablespoons cold brew concentrate
- Maple Vanilla Almond Milk – Blend with 2 tablespoons pure maple syrup and 1 teaspoon vanilla
Store-Bought vs. Homemade: The Real Difference
I used to think store-bought almond milk was fine. Then I made my own, and I realized what I’d been missing.
Store-bought almond milk typically contains:
- Only 2-3% actual almonds
- Water as the main ingredient
- Thickeners and stabilizers (carrageenan, gellan gum, locust bean gum)
- Added vitamins (often synthetic)
- Preservatives for shelf stability
- Sometimes, added oils and sweeteners
Homemade almond milk contains:
- Almonds
- Water
- Whatever you choose to add (if anything)
The taste speaks for itself. Store-bought is thin and often has an almost chalky texture. Homemade is creamy, naturally sweet, and tastes like actual almonds. There’s no comparison.
Common Questions About Making Almond Milk
Do I have to peel the almonds after soaking? No! The skins will be strained out, so there’s no need to remove them individually. This saves tons of time.
Can I use roasted almonds? It’s best to use raw almonds. Roasted almonds won’t blend as smoothly and can give the milk an off-flavor.
My almond milk separated—is that normal? Yes, completely normal! Just shake it before using. Natural separation means there are no emulsifiers keeping everything artificially blended together.
Can I make almond milk without soaking? Technically, yes, but I don’t recommend it. Soaking creates much creamier milk with better flavor and makes the almonds easier to digest. The overnight soak is worth the wait.
How do I make it creamier? Use less water (try 3 cups instead of 4), or add a tablespoon of coconut oil or raw cashews to the blender.
Why You’ll Never Go Back to Store-Bought
Here’s what happened after I made my first batch of homemade almond milk: I went to pour store-bought almond milk in my coffee the next week, took one sip, and immediately poured it out. Once you experience the fresh, creamy taste of homemade, store-bought just tastes watered down and artificial.
Making almond milk at home isn’t just about being healthier or saving money (though both are true). It’s about the simple satisfaction of creating something pure and delicious with your own hands. It’s about knowing exactly what you’re putting in your body. And honestly, it’s about treating yourself to something that actually tastes amazing instead of settling for “good enough.”
If you’ve been hesitant like I was, thinking it’s too hard or too time-consuming, I promise you—it’s not. Soak some almonds tonight, and tomorrow you’ll be sipping the freshest, most delicious almond milk you’ve ever tasted.
Trust me, your taste buds (and your body) will thank you.
Homemade Almond Milk
Equipment
- 1 Large bowl for soaking almonds
- 1 High-speed blender any blender works, high-speed gives creamiest results
- 1 Nut milk bag or cheesecloth or fine-mesh strainer
- 1 Glass jar or bottle for storage
Ingredients
- 1 cup Raw almonds organic if possible
- 4 cups Filtered water plus more for soaking
Instructions
- Place raw almonds in a large bowl and cover with plenty of filtered water, at least 2 inches above the almonds. Cover the bowl and let soak at room temperature for 12-24 hours.
- After soaking, drain the almonds and rinse them thoroughly under cool water.
- Add soaked almonds and 4 cups of fresh filtered water to your blender. If using optional sweetener, vanilla extract, or sea salt, add them now.
- Blend on high speed for 1-2 minutes until the mixture is completely smooth, creamy, and white with no large almond pieces visible.
- Place a nut milk bag, cheesecloth, or fine-mesh strainer over a large bowl or pitcher. Pour the blended almond mixture into the bag and squeeze gently to extract all the liquid. Continue squeezing until you've gotten as much milk out as possible.
- Transfer the fresh almond milk to a clean glass jar or bottle with a lid. Store in the refrigerator for up to 4-5 days. Shake well before each use, as natural separation is normal.
Notes
Did you make this homemade almond milk recipe?
I’d love to hear how it turned out! Leave a comment below and let me know what you think.
💌 Love These Easy Recipes? Get More Sent to Your Inbox!
If you enjoyed learning how to make homemade almond milk, you’ll love my newsletter! Join MS in the Country for simple, wholesome recipes like these, plus gentle reminders, healing tips, and encouragement to stay hydrated and take care of your body — one simple step at a time.